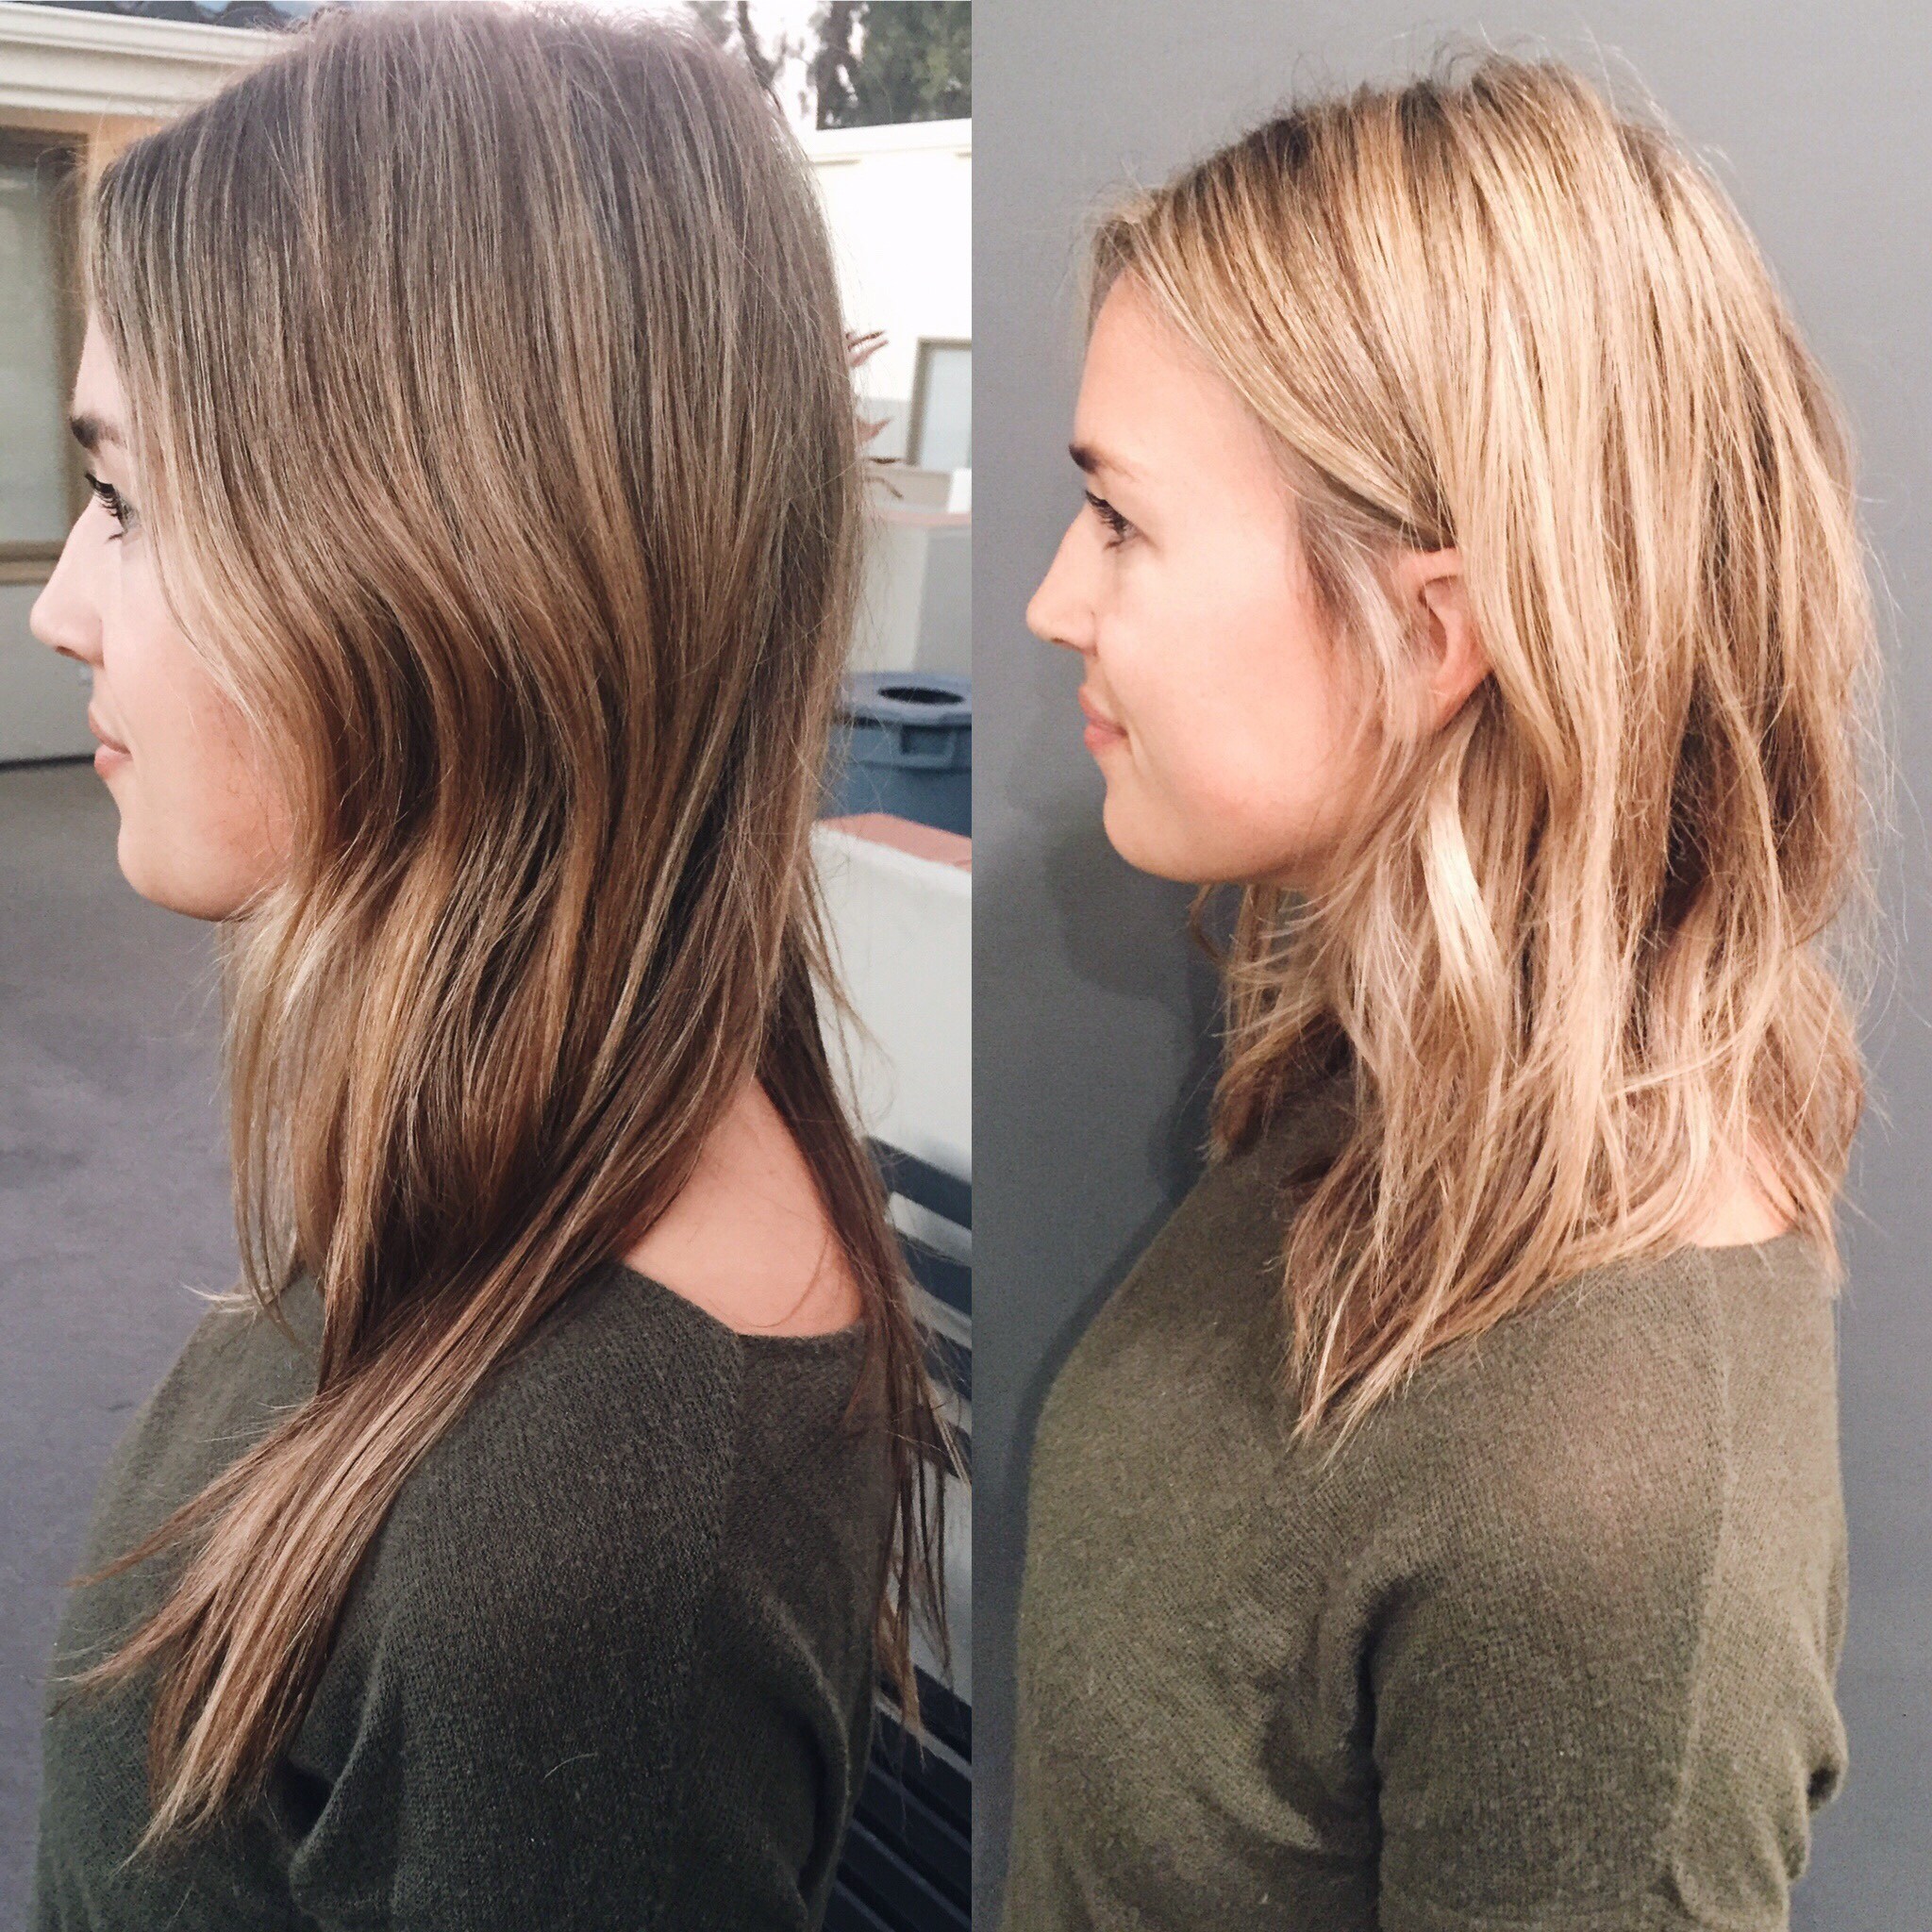
I did it. I cut my hair!! The thought of it was scary but once she took the first snip I know I was making the right choice. It feels so much healthier and thicker, which is exactly what I was hoping for. My stylist said she recently attended a class where they called this cut “The New Long” because everyone is doing it and it’s so modern and versatile, so that made me feel even better about it.
Today my stylist Kristin is sharing all of the details on the consult, cut and color that landed me with my new look for fall…
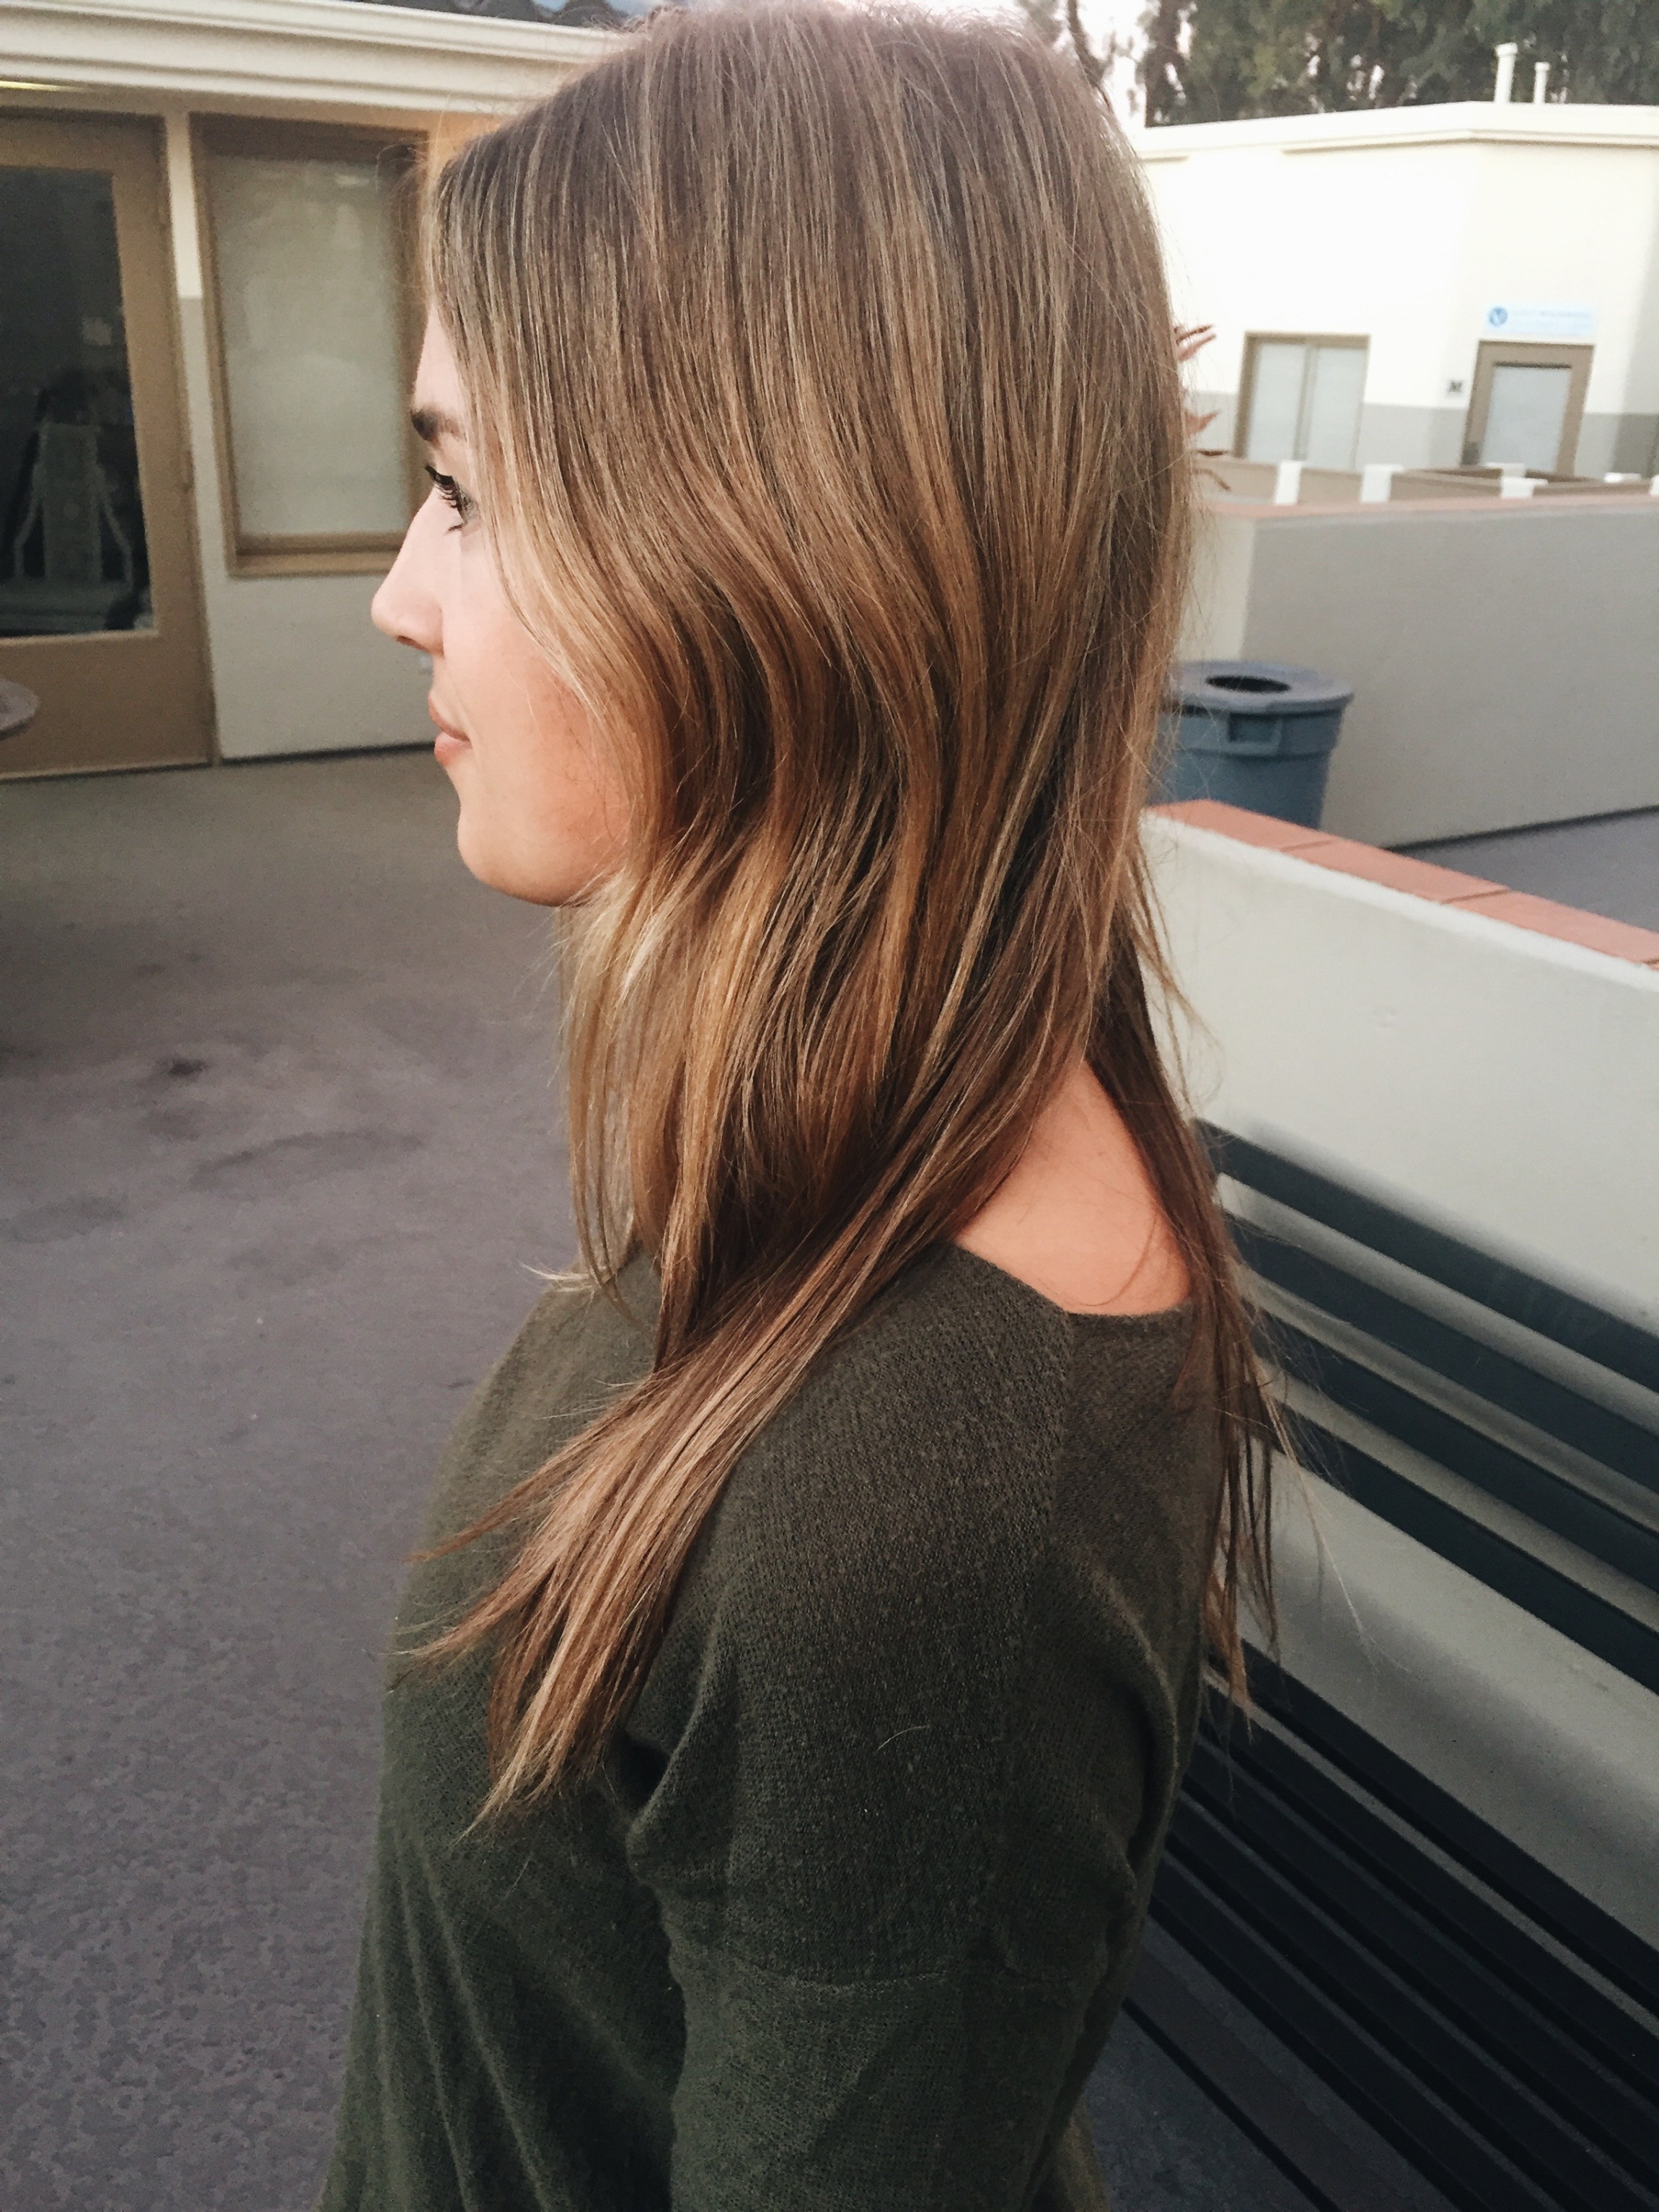
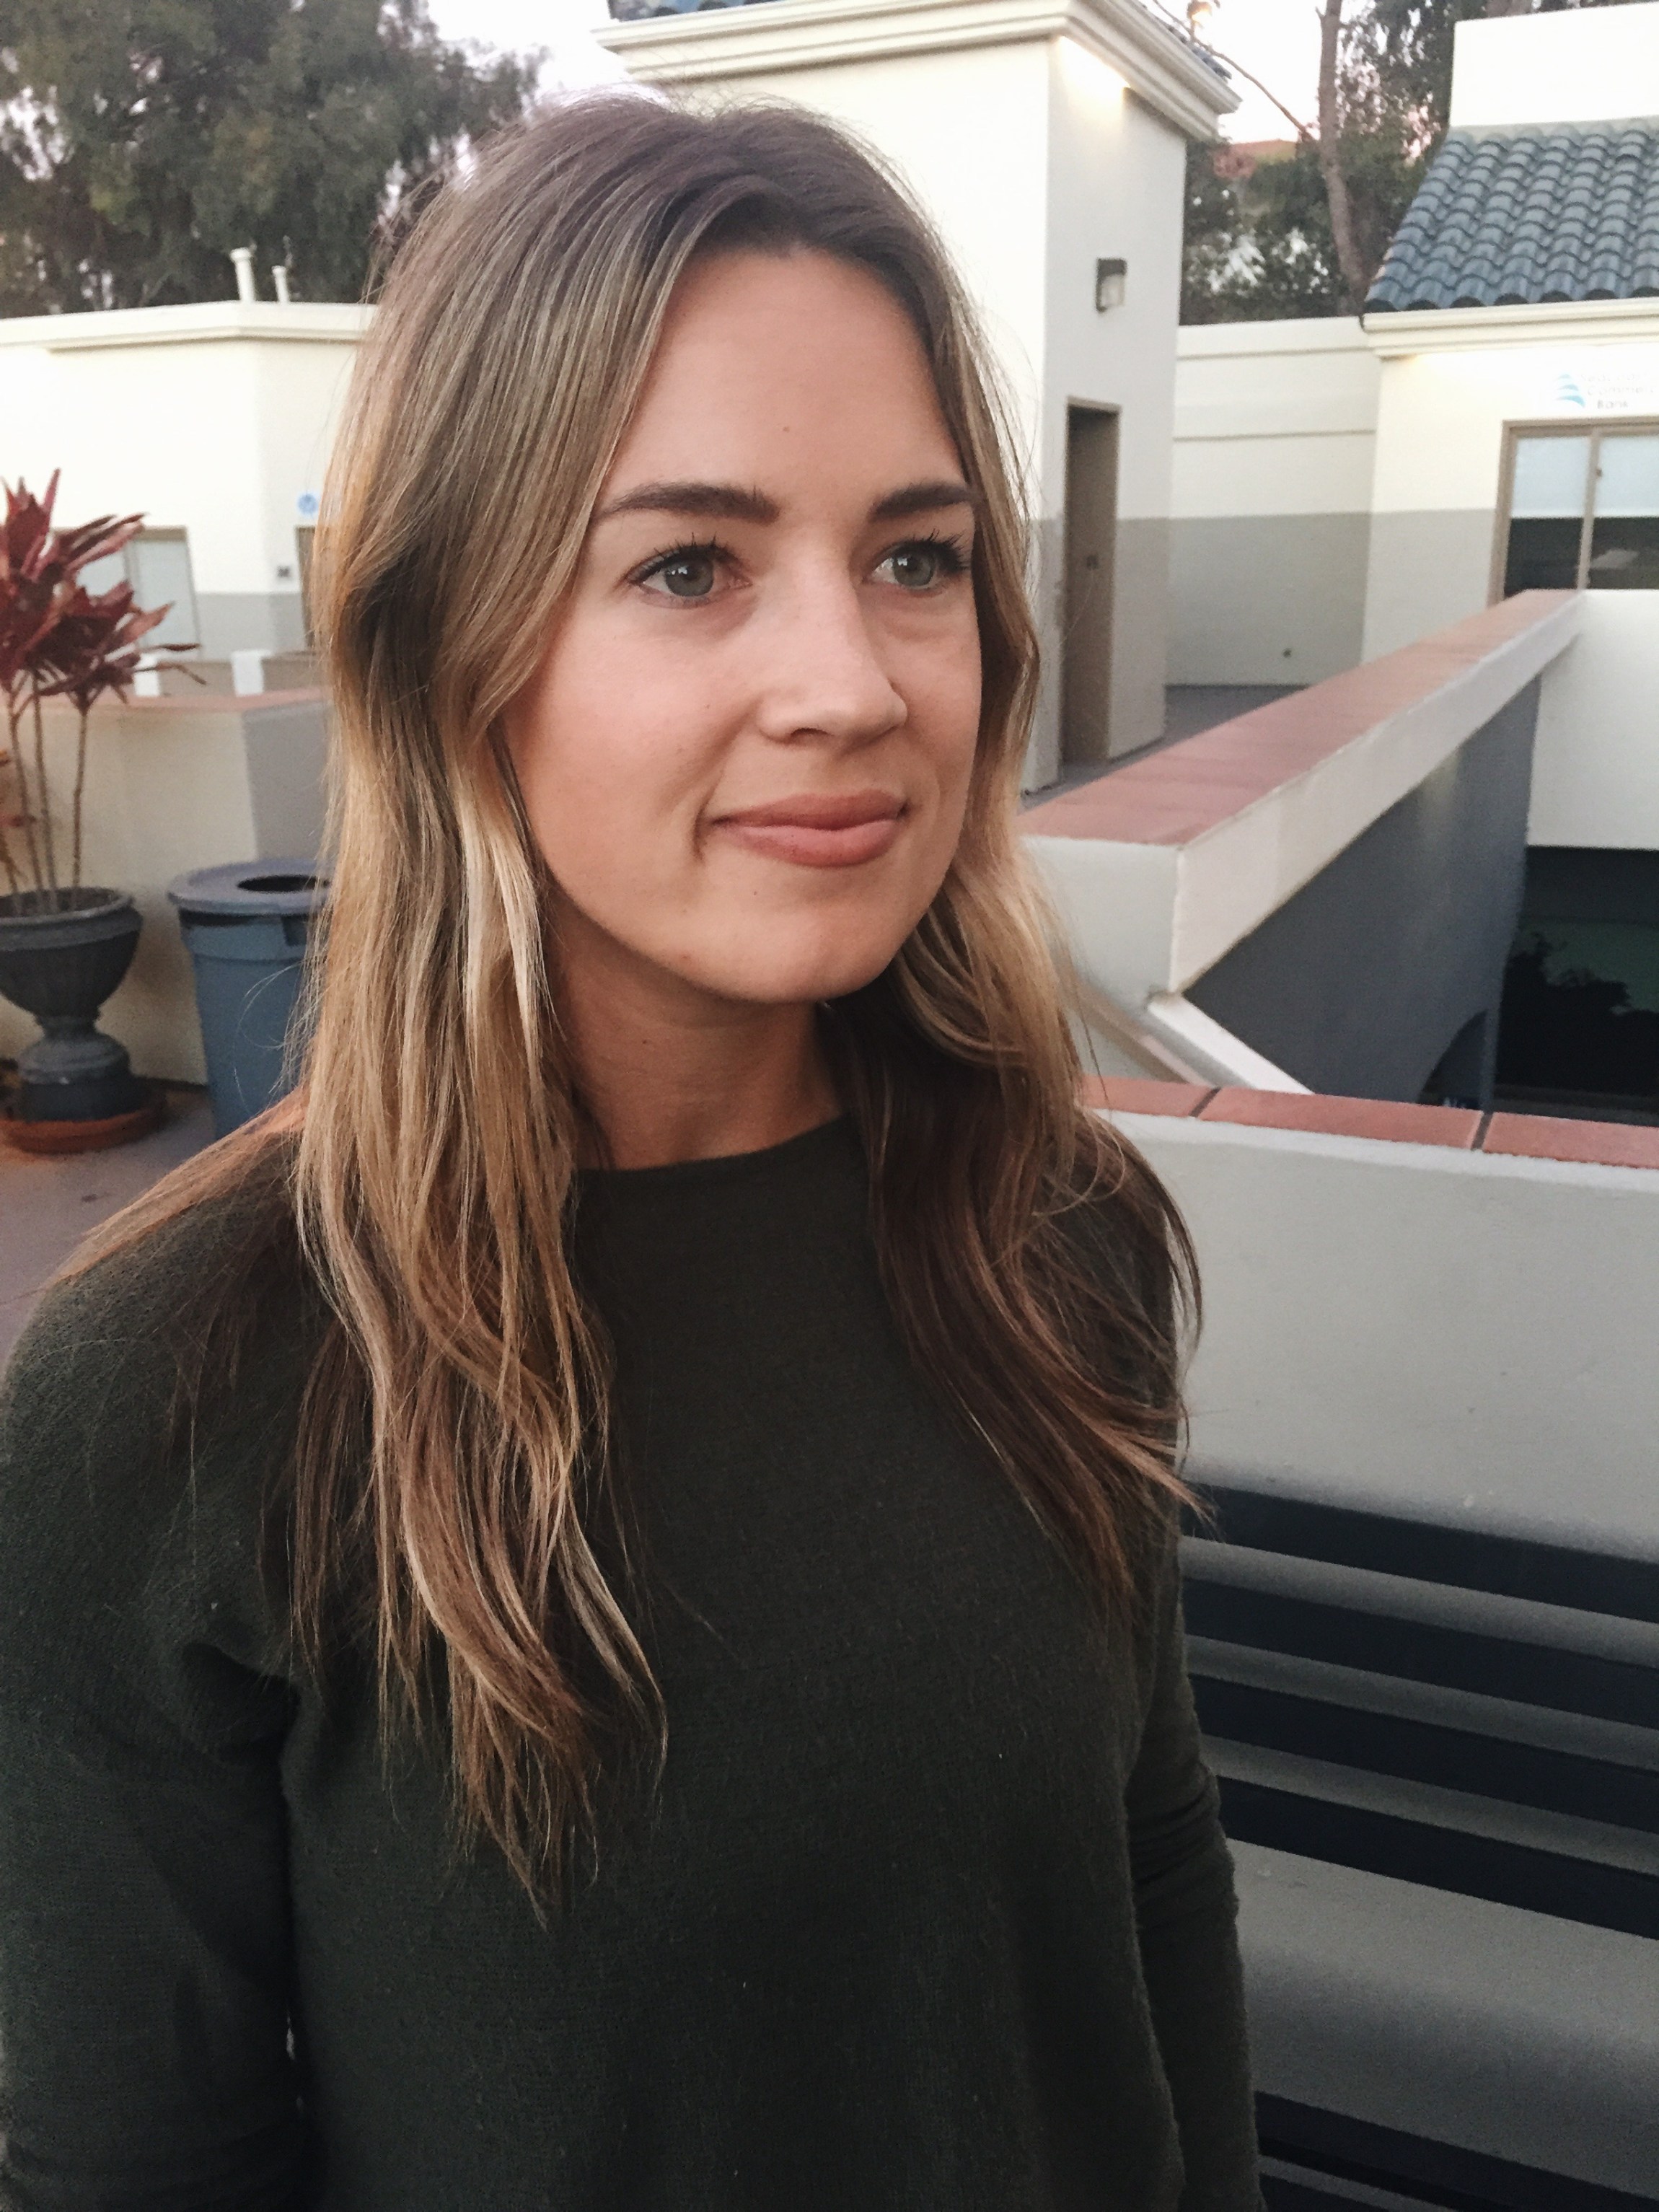
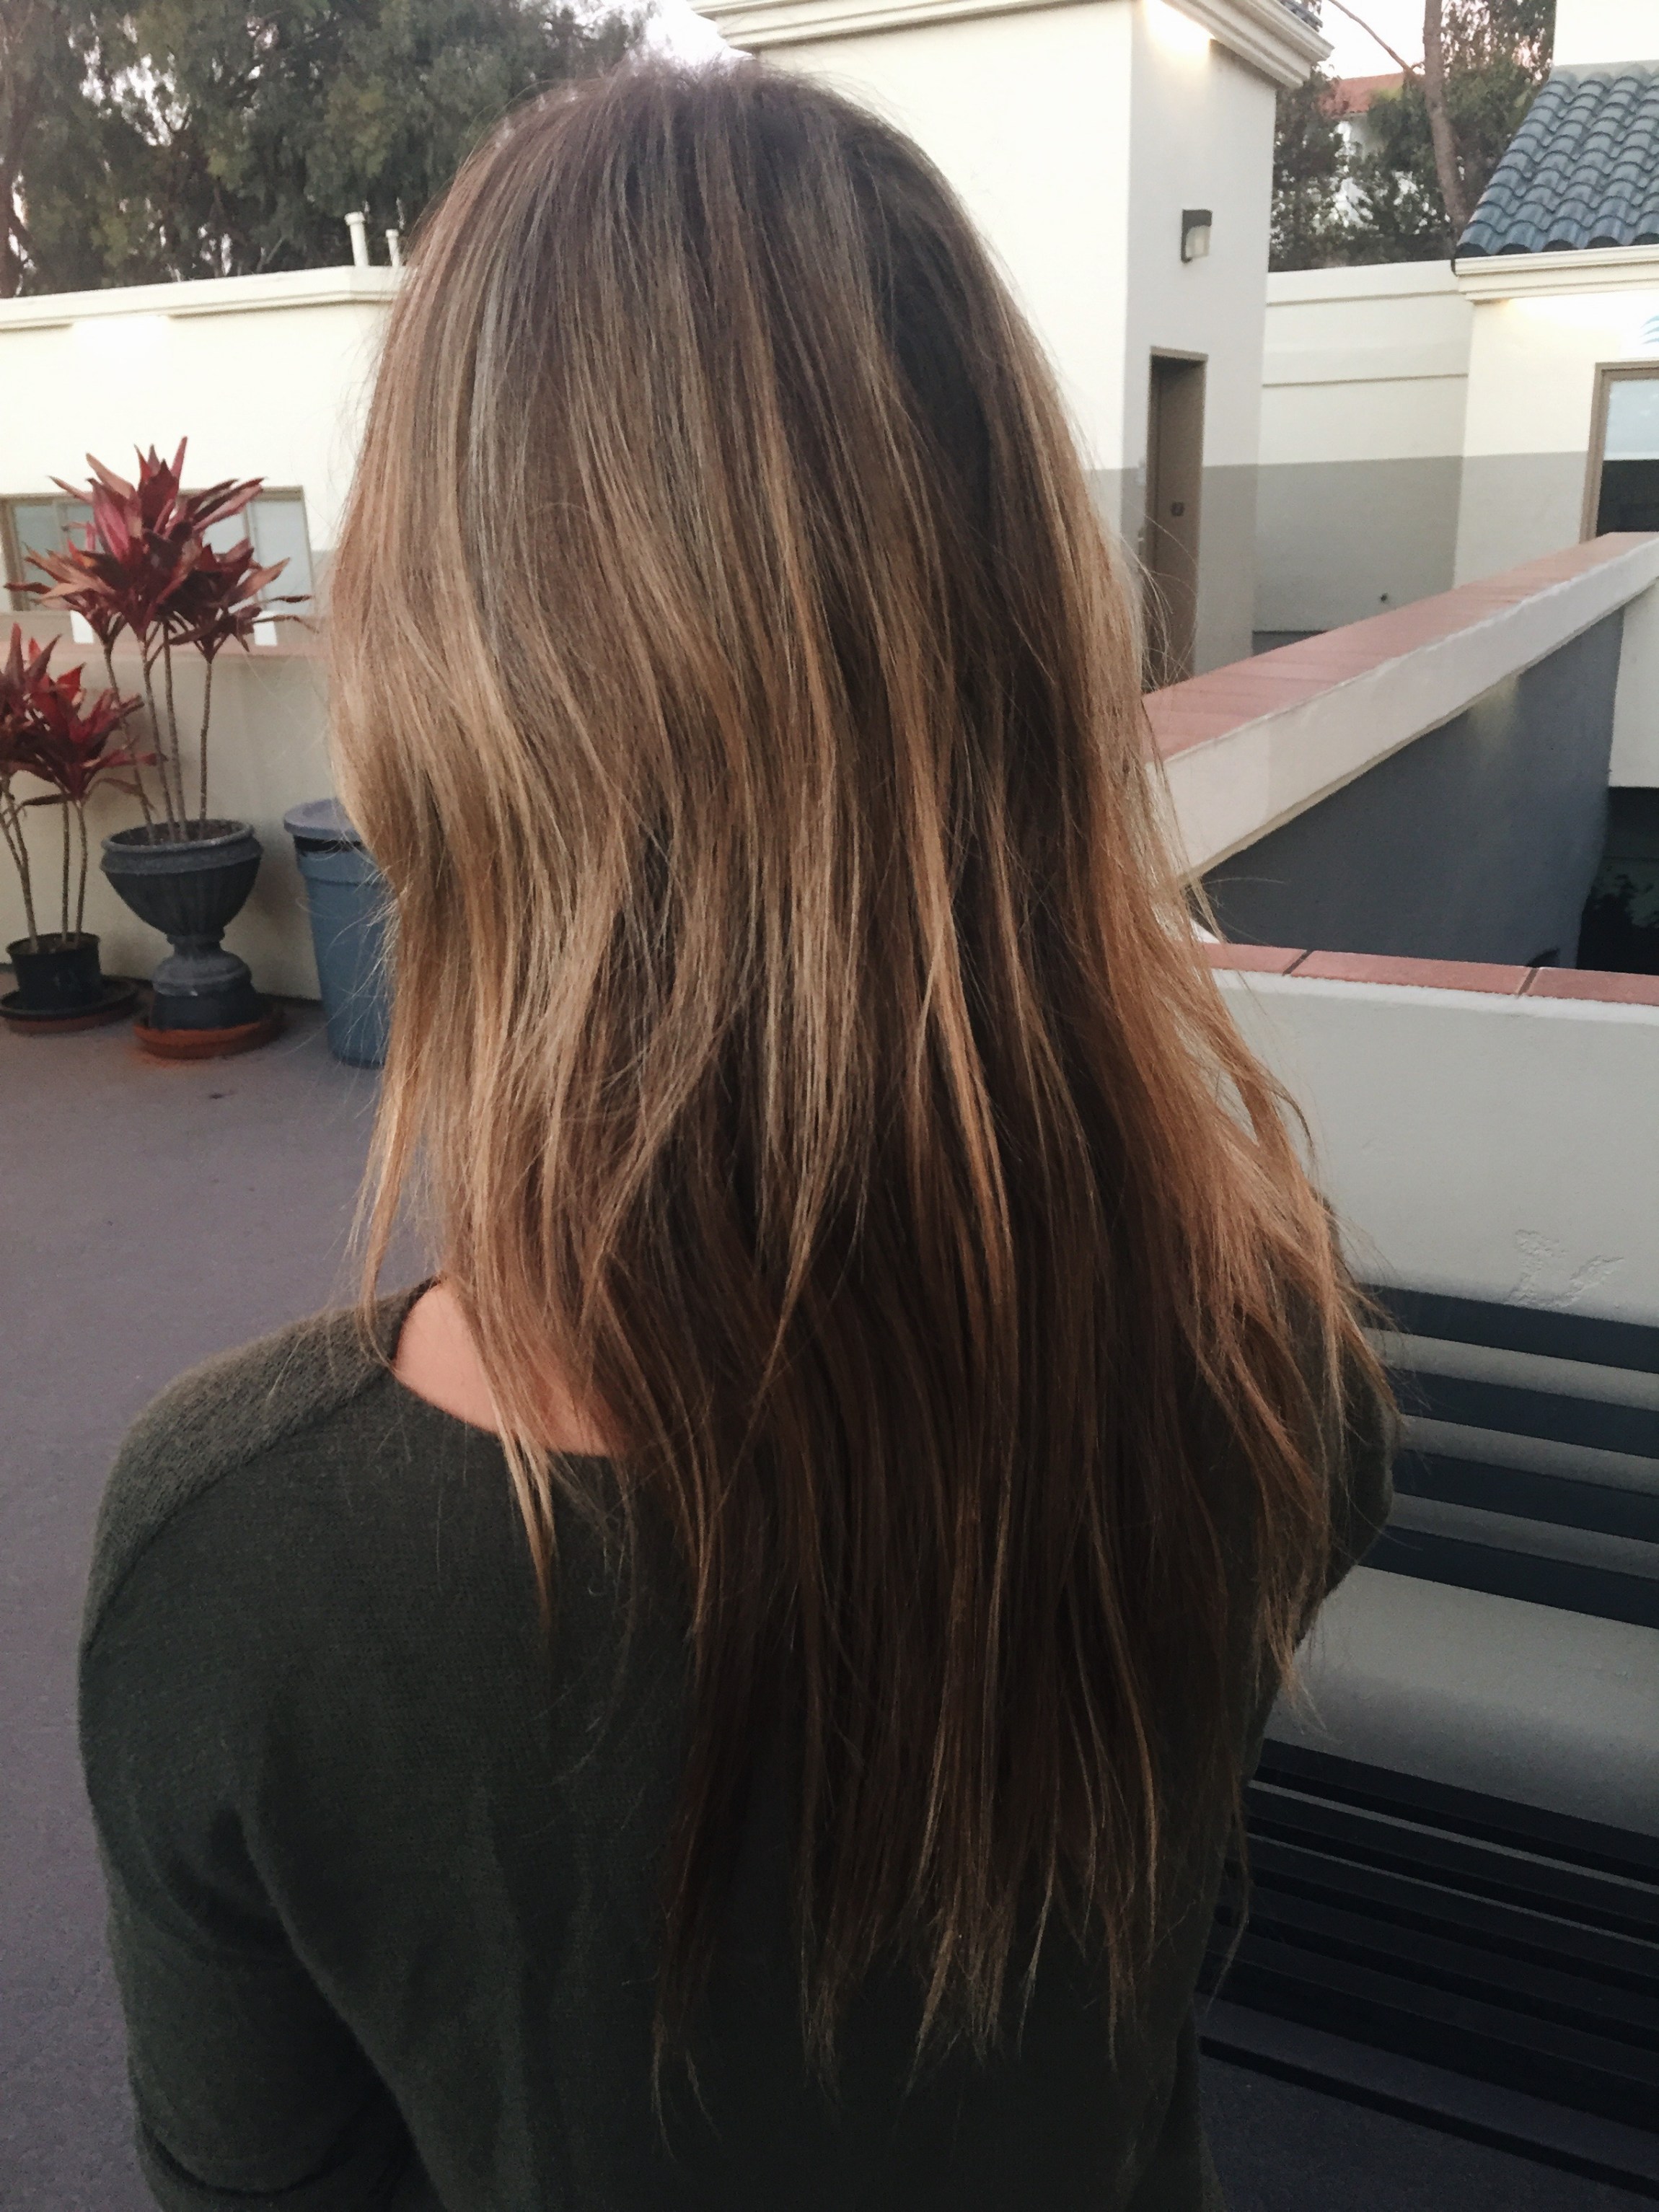
BEFORE: Stringy, dead and straw-like. And very overdue for color!
The Consultation
When talking to Natalie about her big hair change we had two main goals:
1. To get her hair as healthy possible
2. To make sure it still had a “cool” look and feel.
Overall, we wanted a mid length haircut that was still chic and effortless and we also wanted to brighten up her blonde.
The Color
For Natalie’s color we wanted to keep that same effortless look but brighten up the blonde a little. I did a partial highlight where I alternated foils of lightener and high lift, every other foil. Every 3rd foil I pulled the color through to the ends with lightener + 20vol and Olaplex.* I also put Olaplex #2 on the hair that was left out of the foils, specifically the front pieces that needed an extra conditioning treatment. Once processed, I rinsed Natalie’s hair and applied a toner at the bowl. I used a slightly deeper toner at her roots to give the color a lived in feel and a softer grow out. I also toned her ends with a violet toner, brightening up the overall look.
FORMULA
Highlights: Redken Up to 7 Lightener + 20vol, Redken El-VV + El-BL double 40vol, Pulled through every 3rd foil: Up to 7 + 20vol + Olaplex
Toner: At Roots- 09Gb+09V+09NB (added a little 07NB to deepen) At Ends: 09V+clear
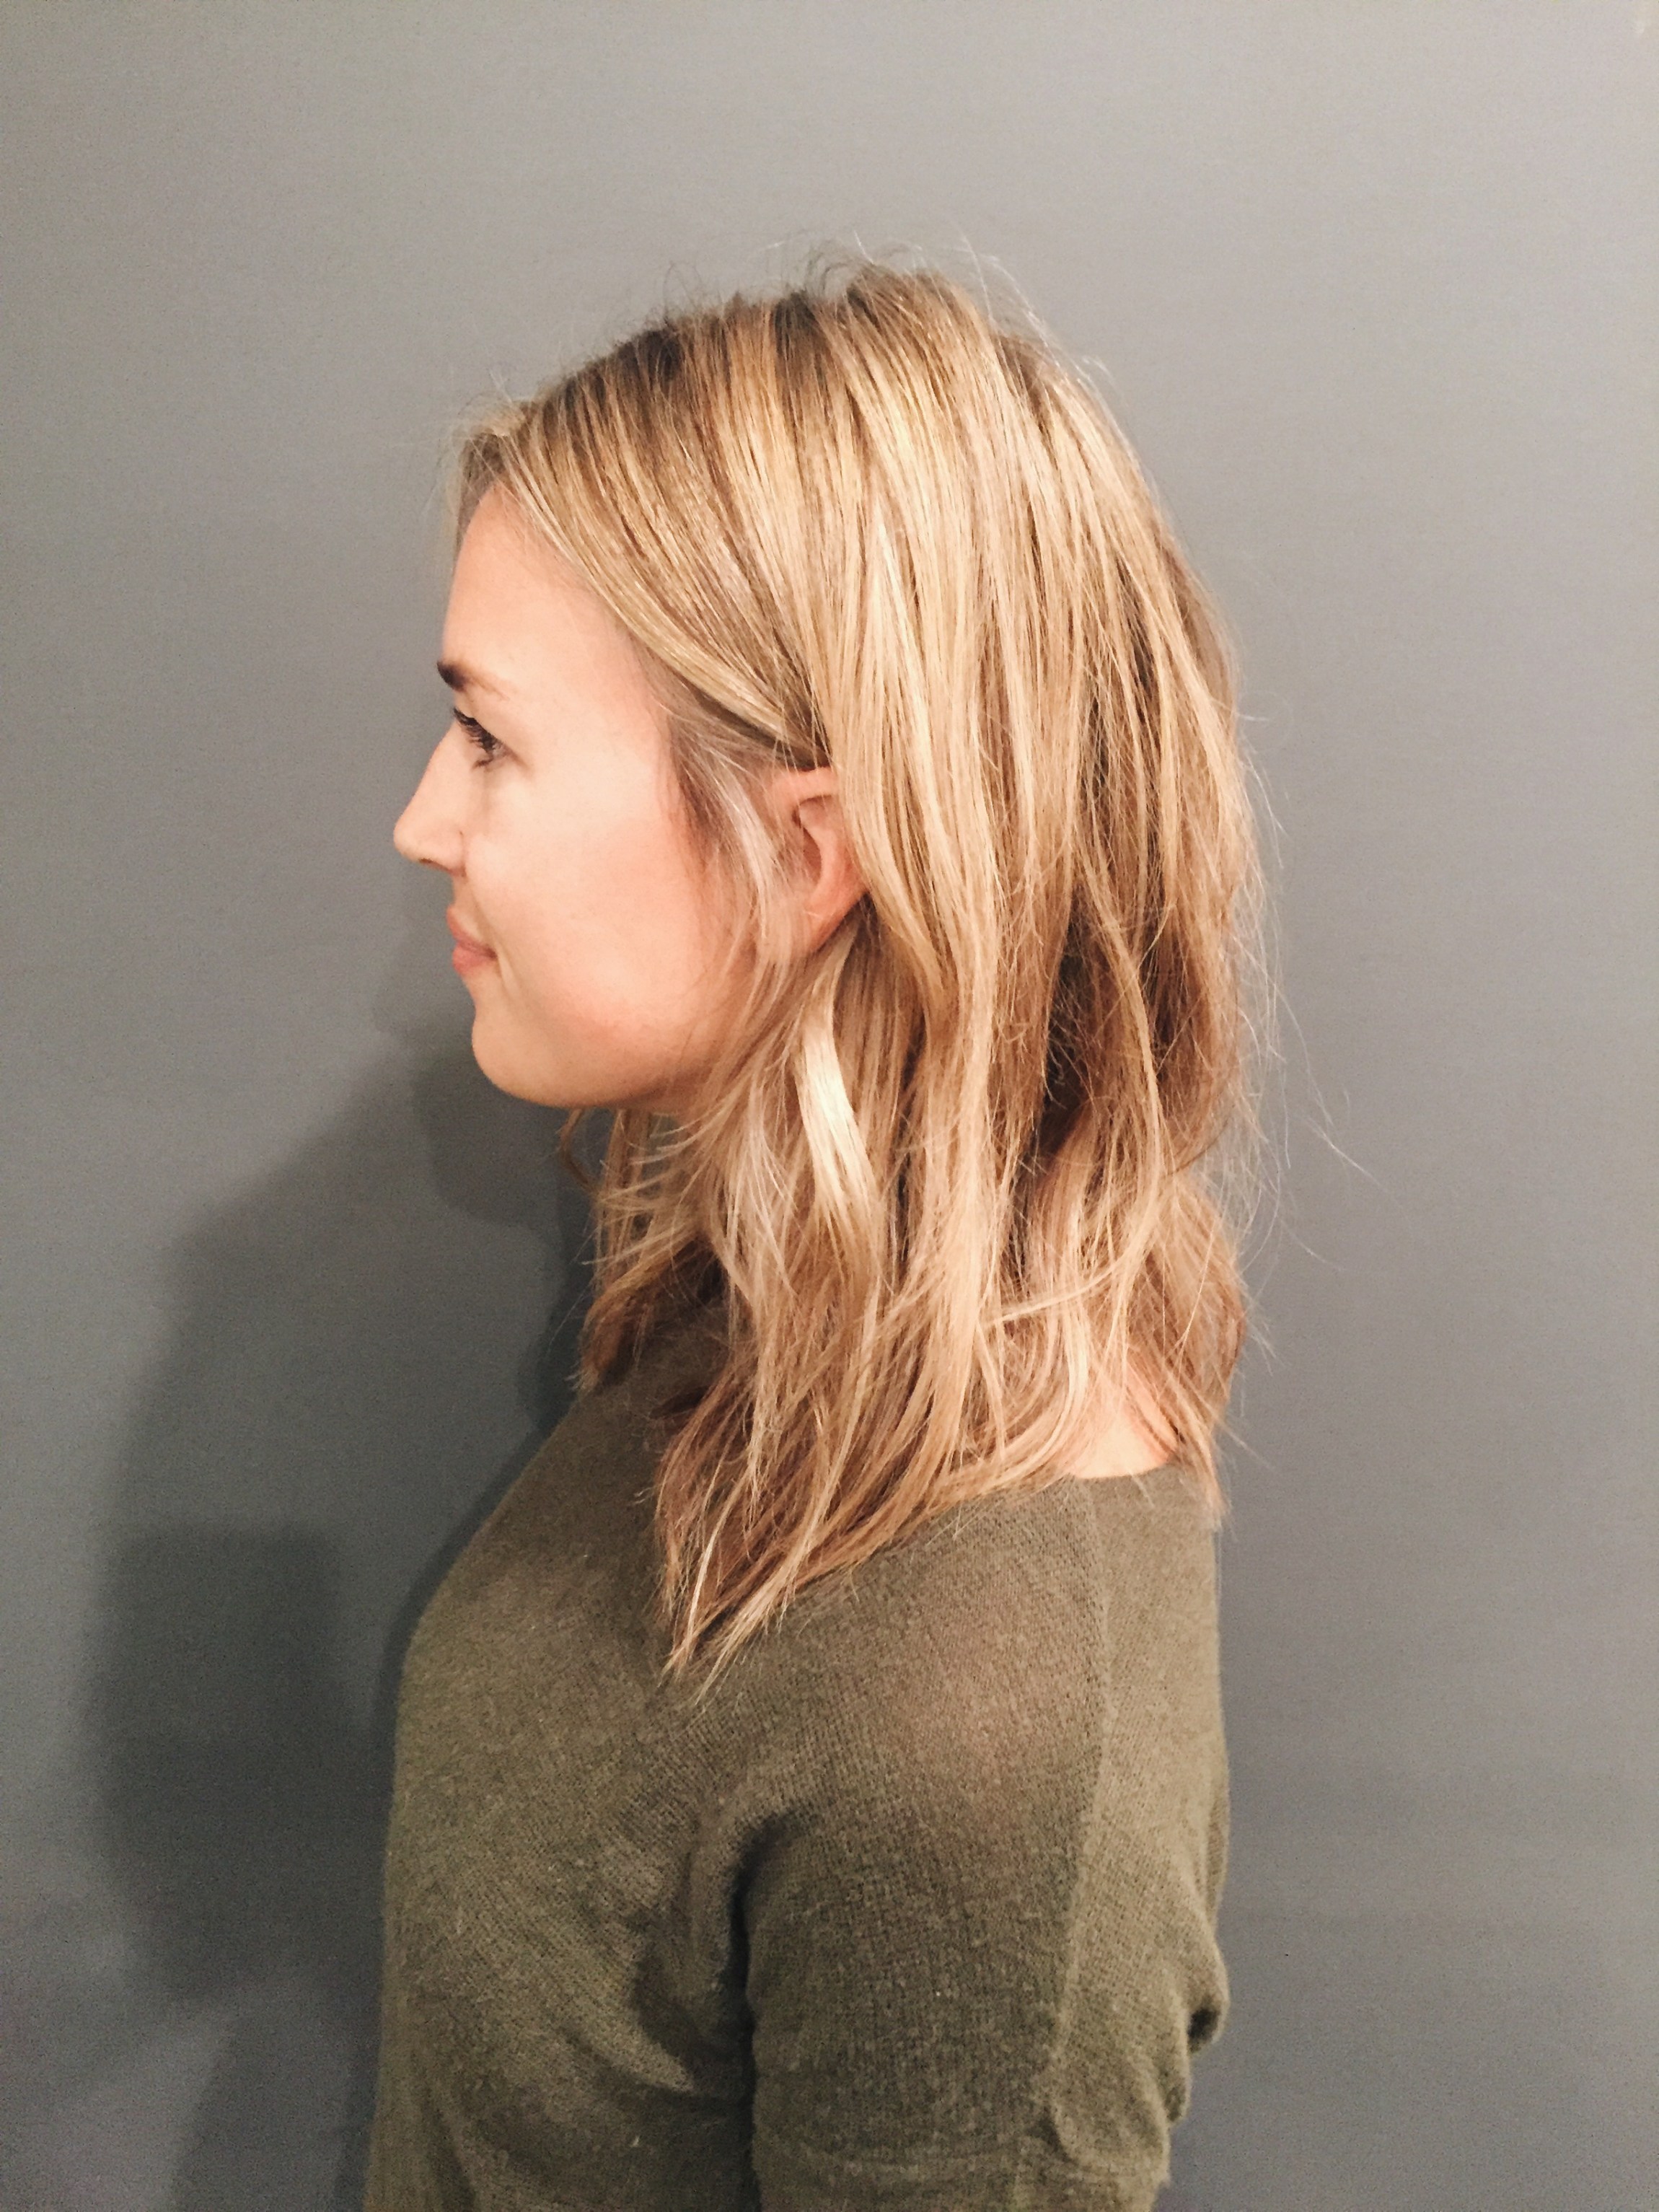
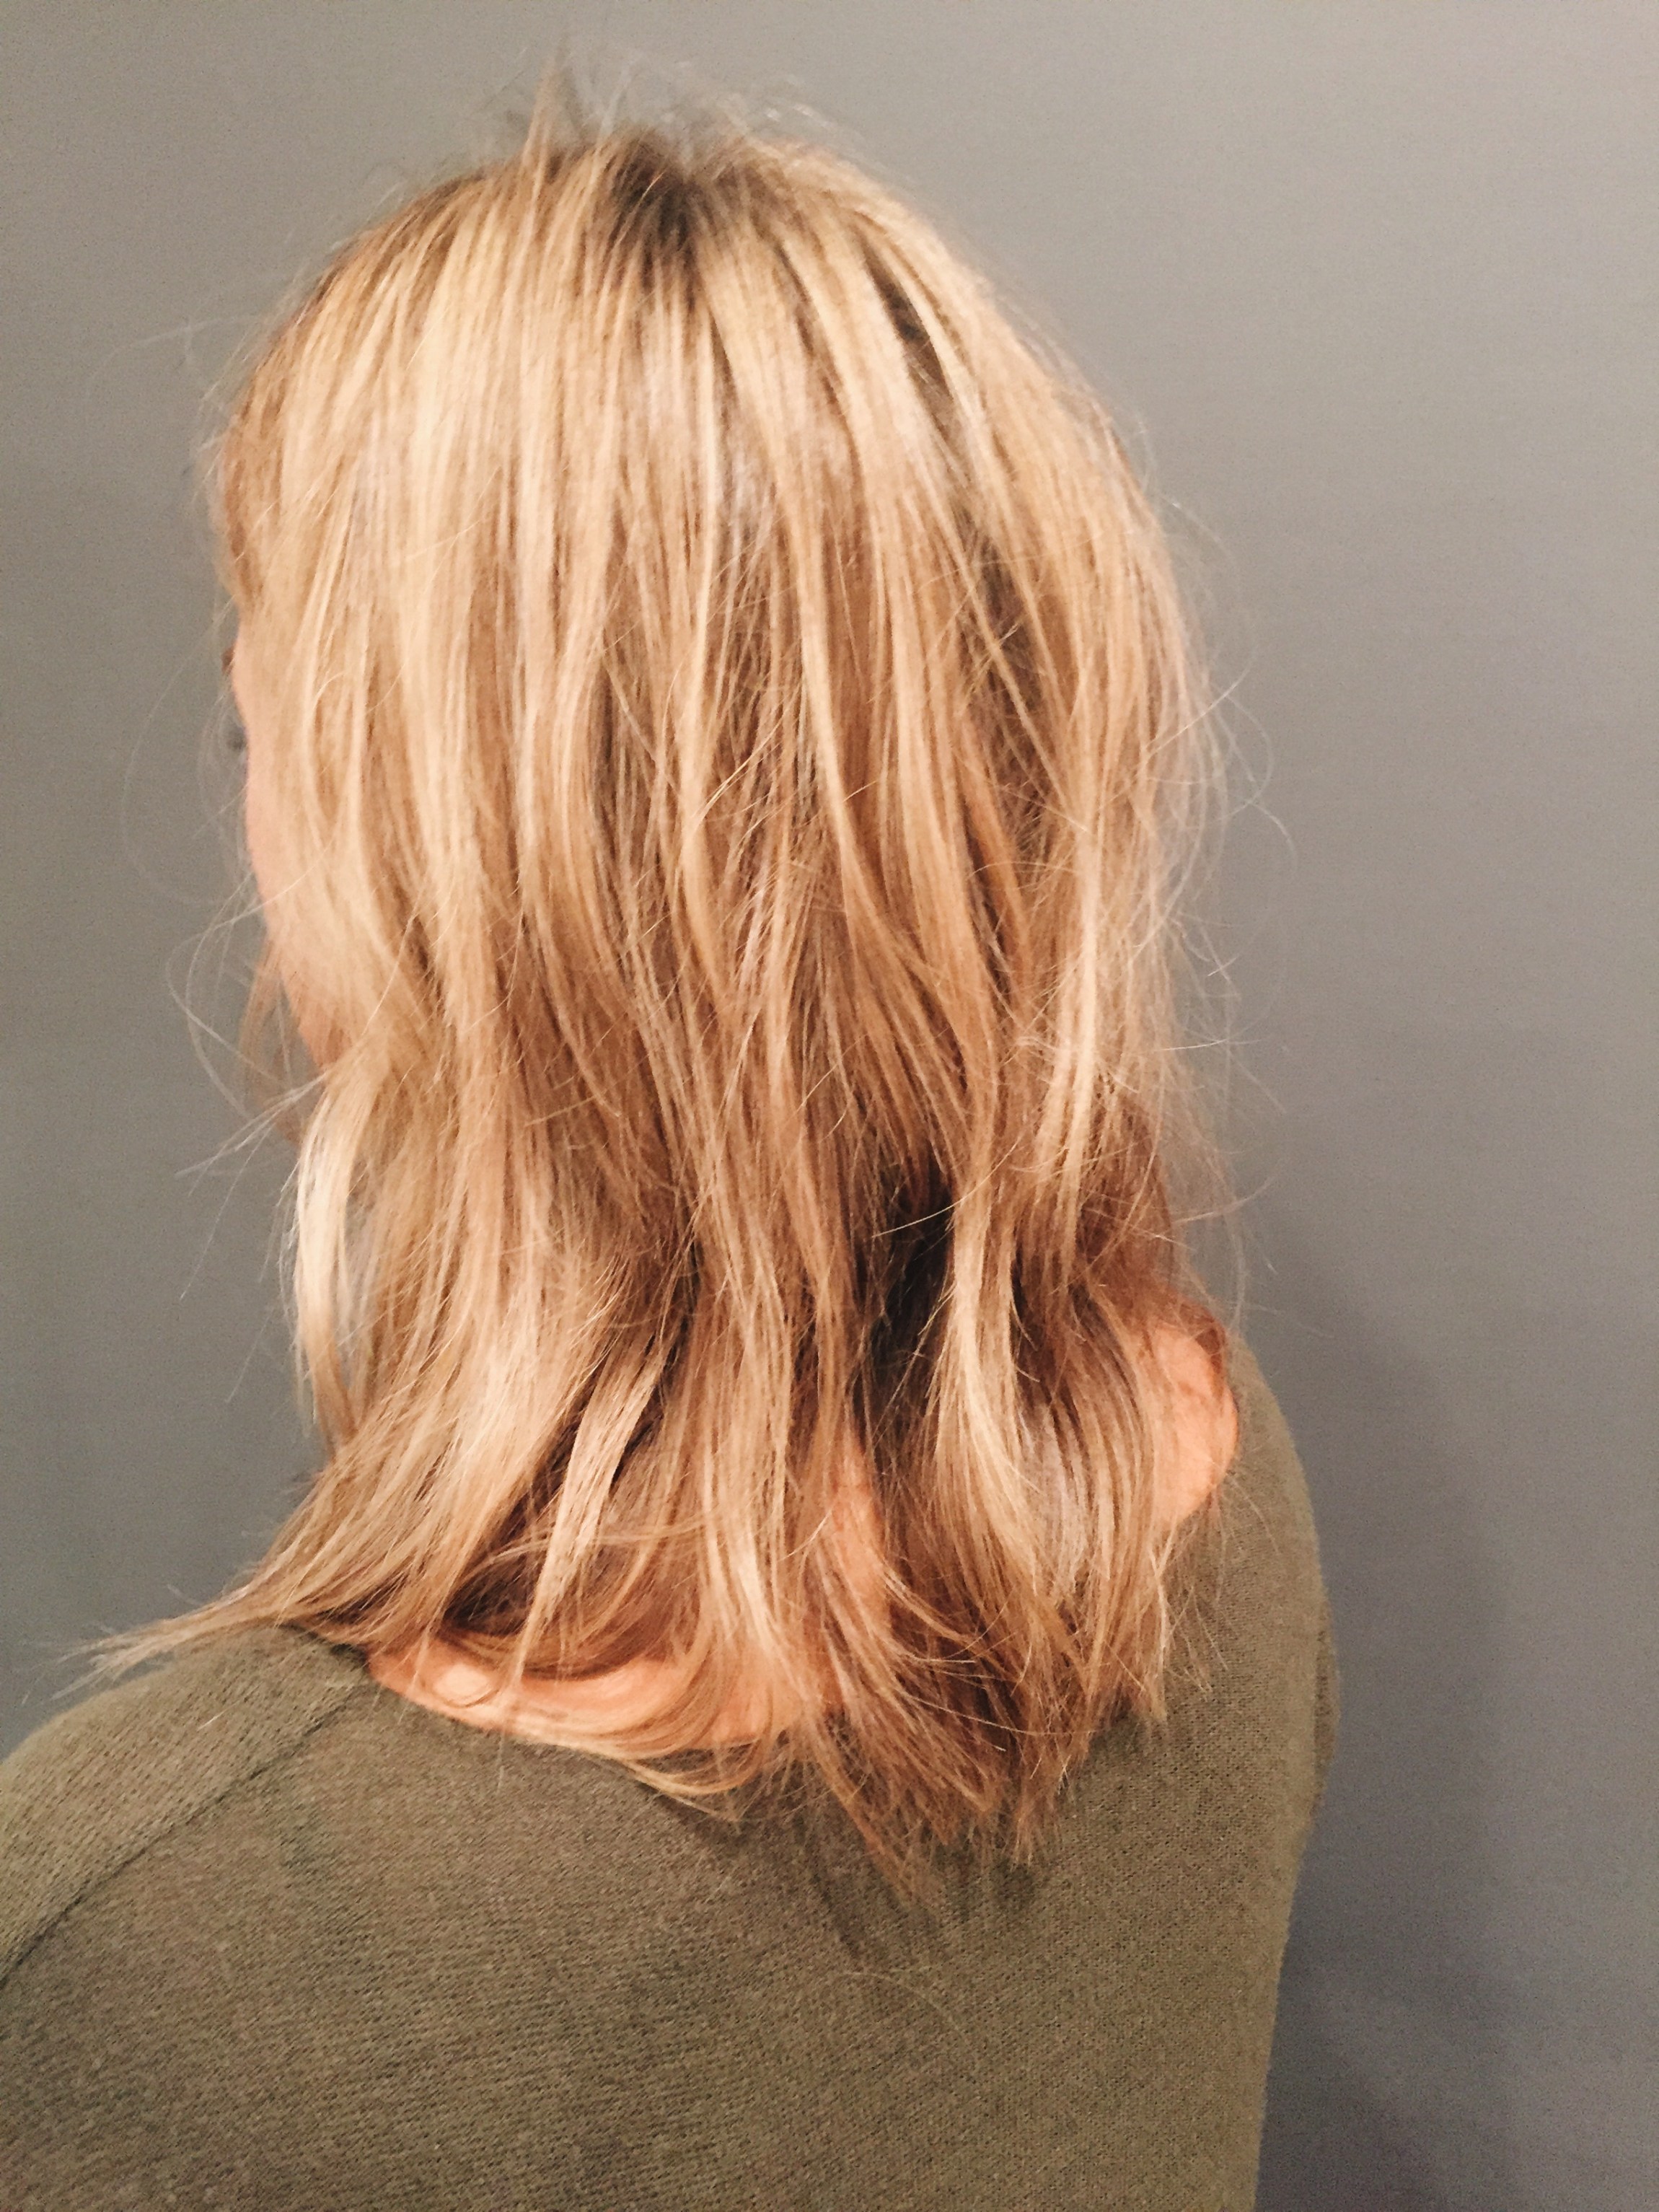
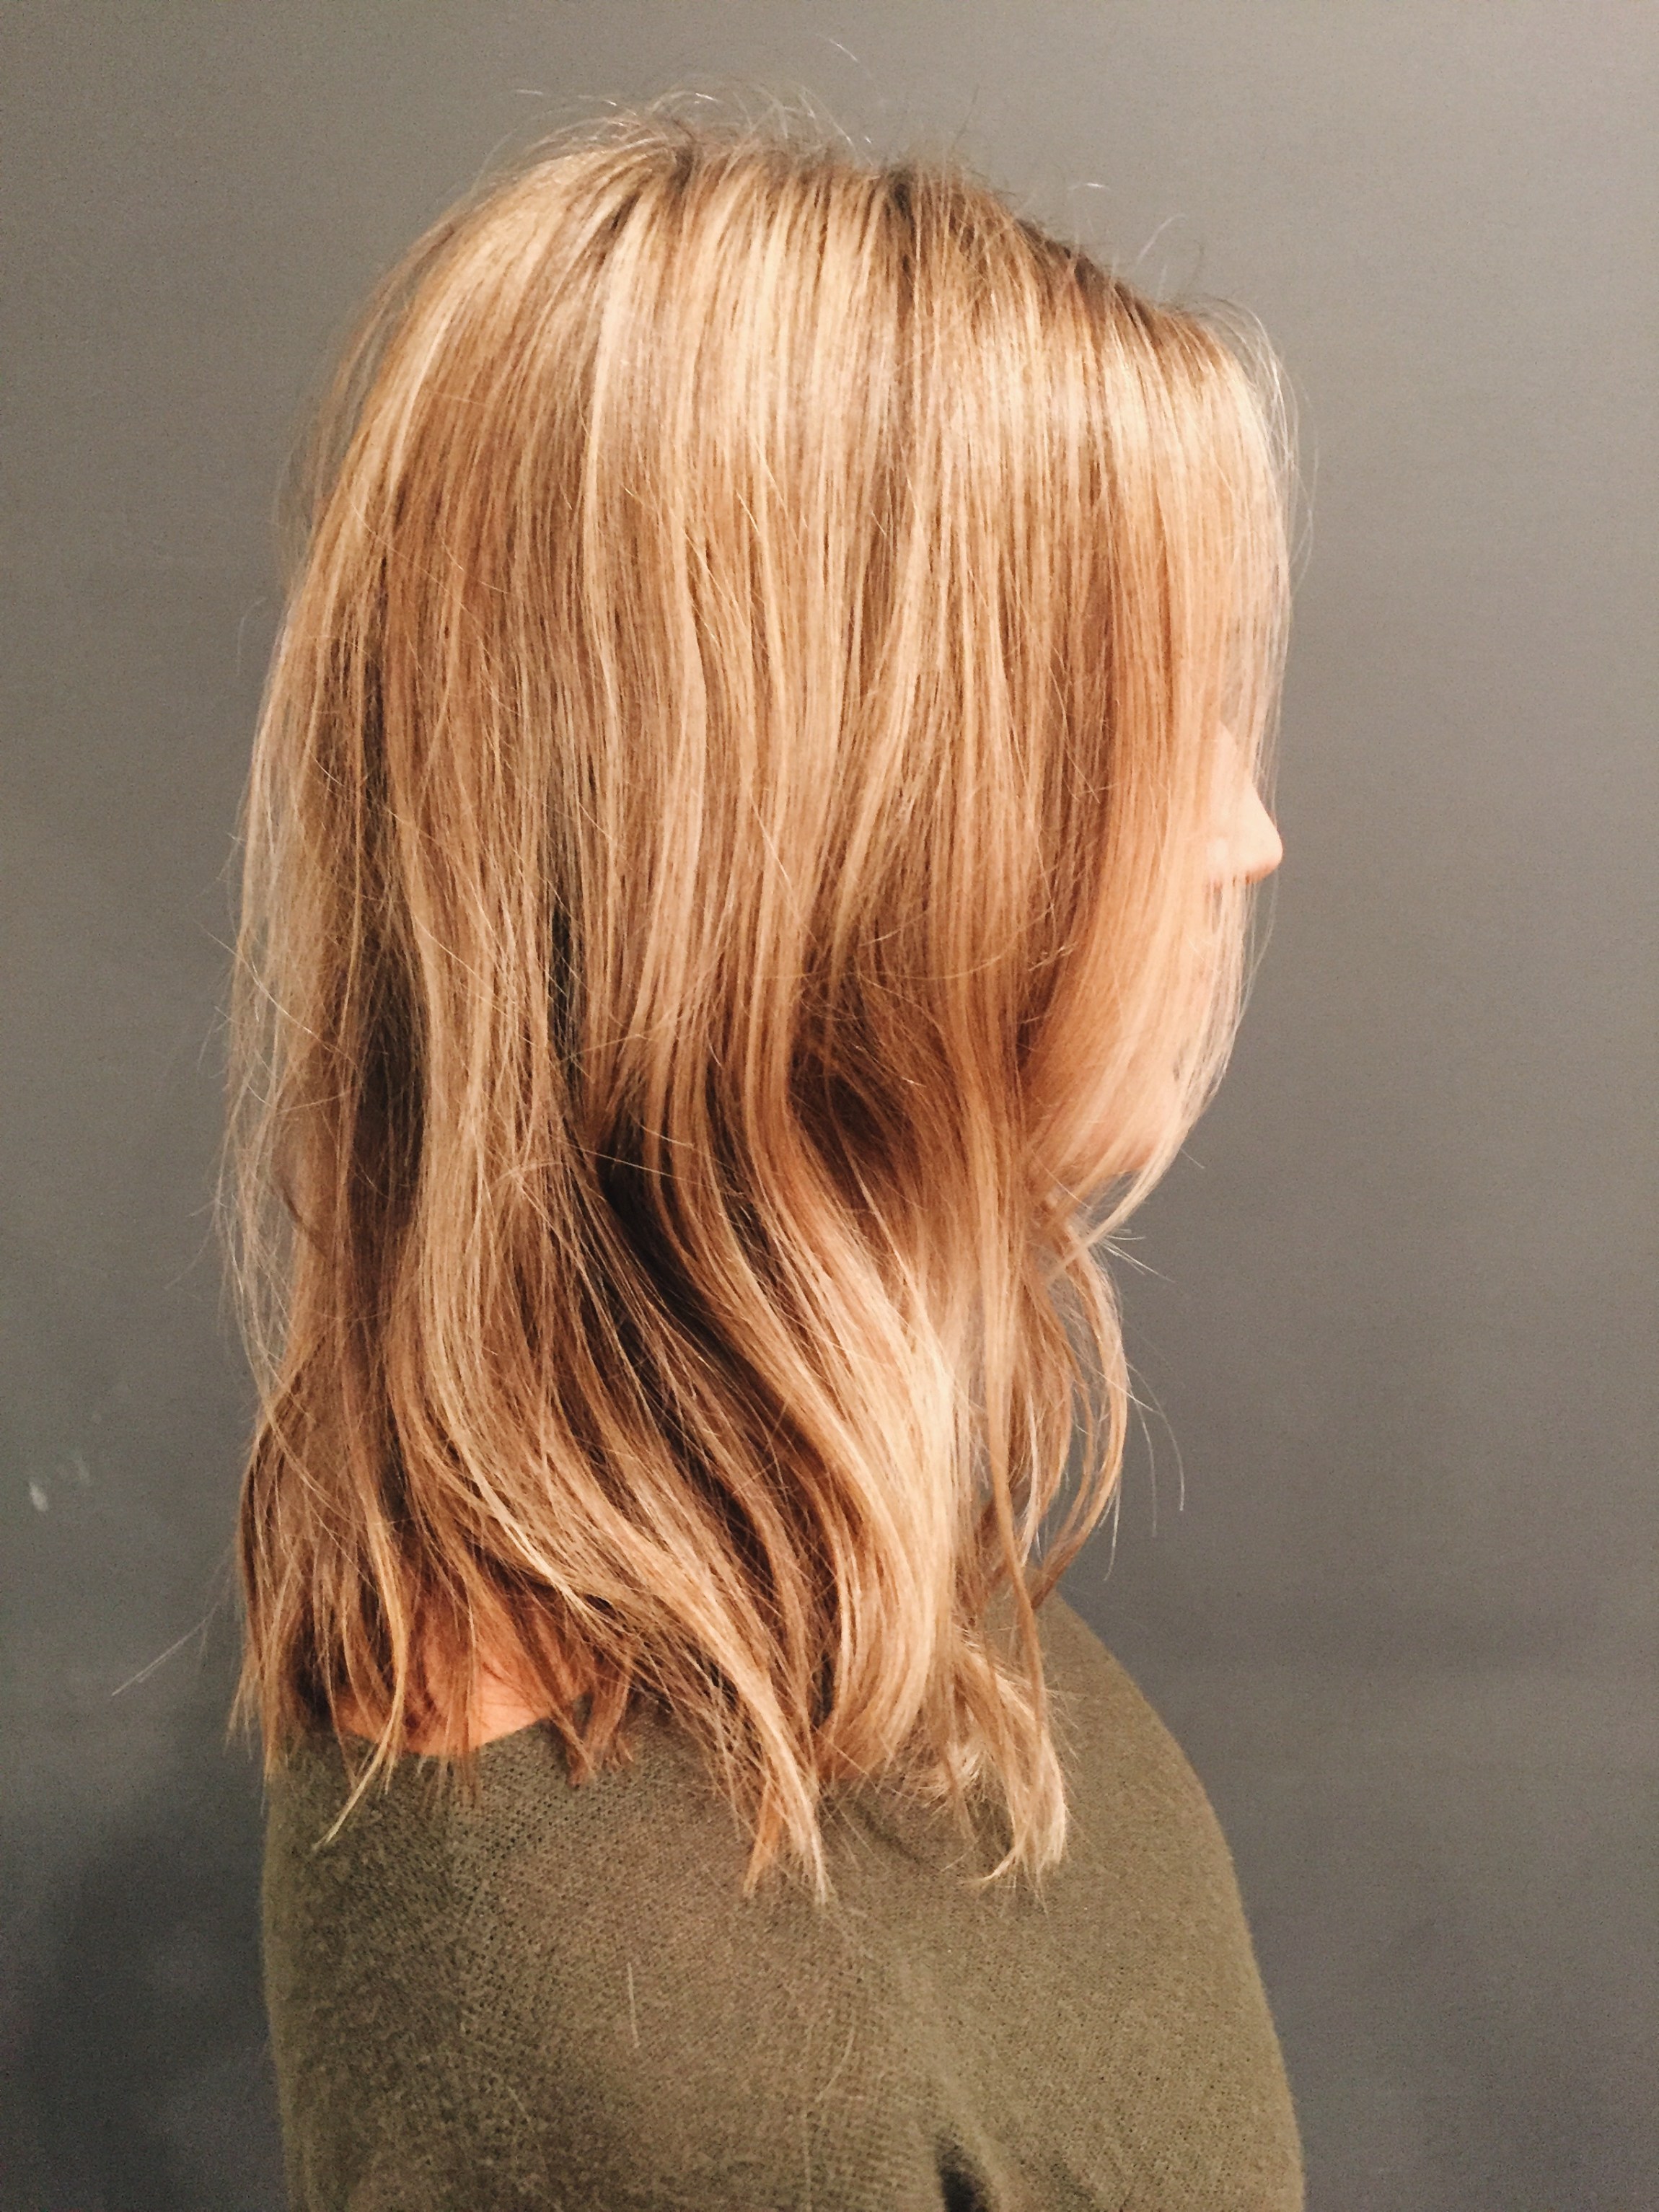
AFTER: Healthy, modern and blonde. (Taken in weird lighting at the salon after dark.)
The Haircut
Natalie wanted to bring up the length in the back quite a bit. We used her shorter pieces in the front as a guide and started long (you can always go shorter). We also wanted a slight angle from back to front.
I used scissors to point cut the back of Natalie’s hair, slightly dropping one section longer than the previous creating a small undercut. We kept Natalie’s existing layers the length they were in the back not going shorter because we wanted an overall one-length feel. After blow drying and styling Natalie’s hair the way she usually wears it I added more texture to the back of the haircut, specifically on the ends.
We actually cut the length of Natalie’s hair twice before blow drying and curling it and then decided it still needed another inch off the back! It’s a good idea to style your hair how you will be wearing it so you can see how everything falls.
*Olaplex is a bond reparative treatment for any type of hair that needs extra conditioning from chemicals or heat styling.
Thank you, Kristin, for giving everyone the scoop and for making my hair look even better than I imagined! Here’s Kristin’s booking info for locals:

Read the Comments +